I have been playing around with the idea of curing an egg yolk for a while. I have tried many different ways and have found the one I like the best. Many of you may be asking yourself, why is this guy curing an egg yolk, and what in the hell is he going to do with it when its done.... Simple because I can and I am going to eat it!! For those of you that don't know me that well, I have recently quit my Big Boy job to pursue my dream of doing Charcuterie and working in a Restaurant full time. This has been a passion of mine for a long time, and thanks to my friends Andy Ticer and Michael Hudman from
AMIK for sparking my passion. Anyway onto the topic at hand, the wonderful world of the Egg!!
Let me start this by saying I Love Eggs, I am a firm believer that almost everything is better with an egg in it or on it. So after reading countless books, blogs, and sites on Charcuterie, I came across a thread of chefs talking about curing an egg yolk. I started to think about it, and realized it could be done, and pretty easy as well. An egg yolk is mainly protein, and water. Pull out the water and you are left with the good stuff. This is truly a salty eggy treat.
To start off you need to use the highest quality eggs you can get. I use the eggs we use at the restaurant that are from free range chickens. Just like any recipe, always start with the freshest and best ingredients to get the best result. Bad product in, bad product out! So after multiple tries here is my favorite recipe, as well as some basic variations.
Basic Cure:
- 150 grams Sugar
- 200 grams Kosher salt, I use Diamond
Variation 1:
- Add 3 grams of freshly ground Tellicherry peppercorns.
Variation 2:
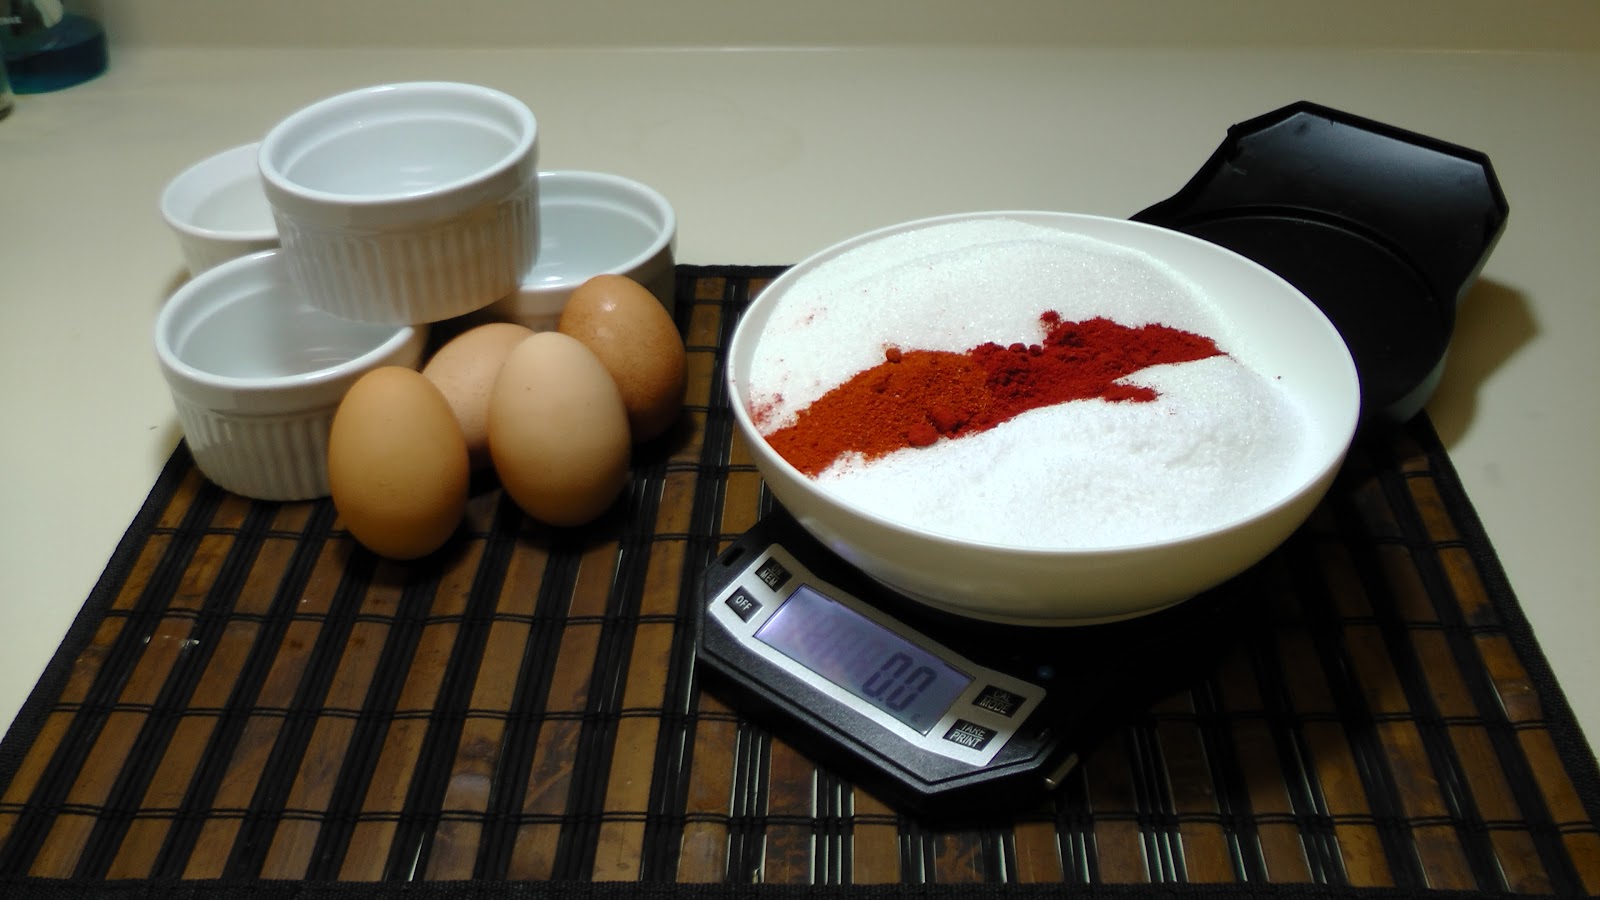
- 2 grams Pepe Rosa or sweet paprika
- 1 gram Hot Pepperoncino powder or Cayenne pepper.
I really prefer the second variation, with the paprika. It gives the yolk a very rich color, the very small amount of heat you get at the finish on your pallet. Like with any recipe, assemble your ingredients
Mix all of your dry ingredients together, and fill your ramekins half full. You can also do this in one large container if you are doing a lot at a time. The key is to make a well where the yolk is going to sit. Be very careful not to break the yolk, if it breaks toss it.
Completely cover the yolks with the remaining cure mixture.
Cover with plastic wrap and place in the fridge for two days. During this time the salt and sugar are going to draw out the moisture in the yolk. After two days remove the yolk from the salt. I get a large bowl and dump all of the contents out.
Lightly wipe off the excess salt and small amount of moisture from the yolk. The yolk does not need to be completely dry at this stage. We are still going to hang this yolk to finish the cure process. The texture is going to be a lot like a dried apricot or firm gummy bear. The yolk will be a little translucent.
Wrap the yolk lightly in Cheesecloth.
These will then hang for at least a week until finished. If you don't have a cure chamber you can hang these in your fridge at home. This will extend the cure time for an additional week due to the higher humidity. Now we are done with the how and go into the Why?... Why, because they are freaking delicious. Very velvety and rich. Plus it looks great on a dish when grated with a micro plane.
We serve this at the restaurant grated on top of Duck Prosciutto, with an arugula salad with a tomato water and lardo vinaigrette. AMAZING. This is truly an easy way to impress your guests, and is very good. Don't forget, Source local and Love your meat. Especially your Burning River Meats!!! Happy Holidays.


That's amazing!
ReplyDeleteGracias por la receta , petenciaremos el sabor del huevo con viruta de huevo curado , como en los huevos rotos , hamburguesas algunas ensaladas ,etc.
ReplyDeleteUn saludo